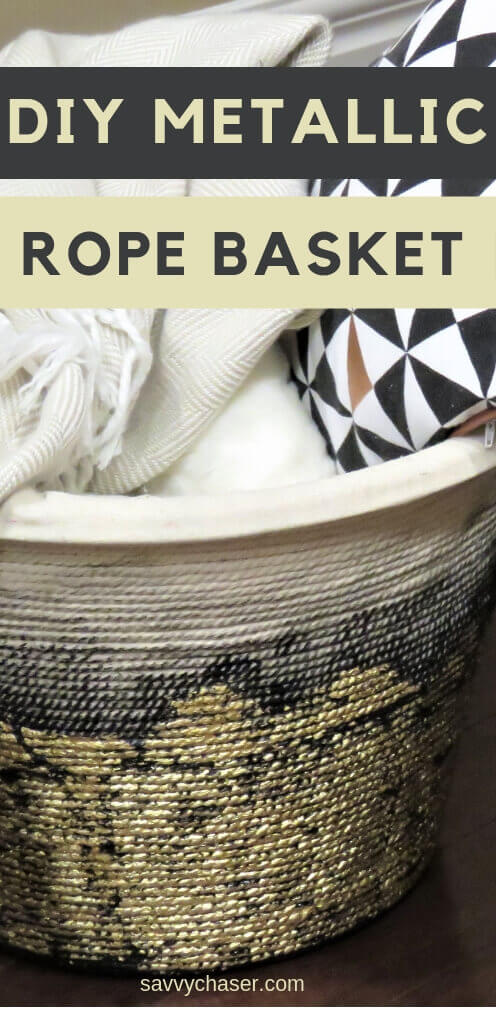
DIY Metallic Rope Basket
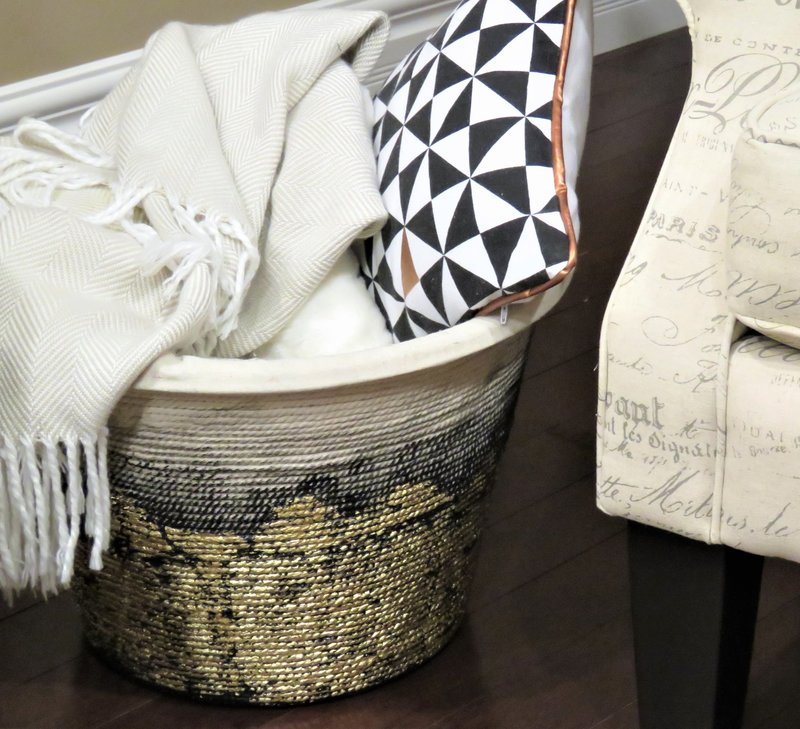
Metallic rope basket made from dollar store supplies
I am in love with this DIY rope basket that I made. It makes my life so much easier and helps me keep my home looking more organized. Also is a cheap DIY project for any home.
Our home is full of throw blankets and decorative pillows. I love them, my kids love to play with them.
To keep my living room from looking like a war zone I was searching for a way to store them. I was looking for something to be easy for the kids to put them back and also be within our reach.
While searching I fell in love with some rope baskets but I didn’t like the price tags at all. So, like anything I love and would like to have I looked into making it myself.
Initially, I thought to make one just out of rope but I don’t think it would be sturdy enough to withstand the 4 little hands in our home. So, I chose to wrap my rope around a plastic laundry basket.
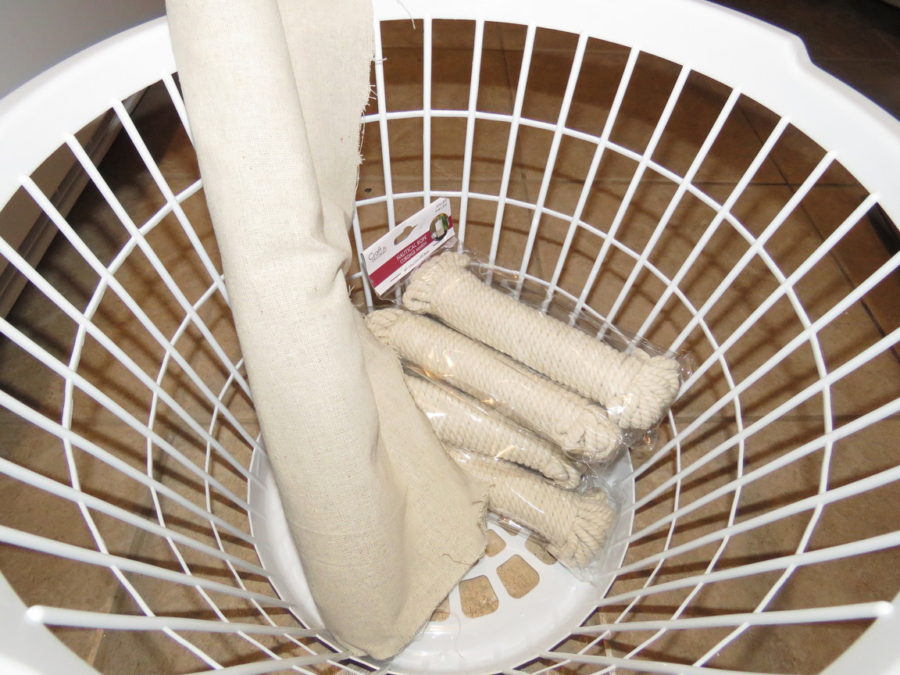
Supplies needed:
- Plastic basket or any kind of basket – already own – $1 at dollar tree
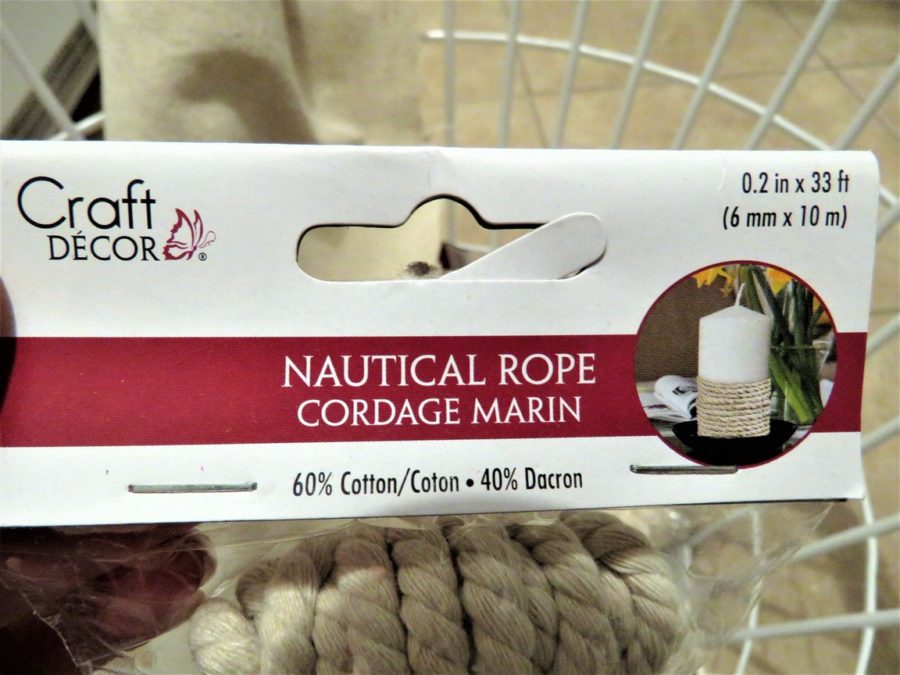
- Rope – $1 – I bought 6
- Fabric for lining- already own. You can use any scrap fabric. I got mine at the dollar store a while ago for $2.
- Hot glue gun
- Glue gun sticks – $1 dollar at the dollar store
- Scissors
- Paint- I used an acrylic paint that I already had, but you can find at the dollar store for $1
- Gold foil- $2 at the dollar store
- Tacky glue- $1 at the dollar store
This post may contain affiliate links. Please read my disclosure for more information.
It cost me $9 because I only had to buy the rope, gold foil, and tacky glue. The total cost is $14 if you have to buy all the supplies. Even so, it still beats the $70 and up price tags for similar baskets.
The best rope for the basket that I could find was 10 meters (3.3 feet) long and 6 mm (0.2″) thickness and I ended up using 5 and a half packs because I made a large rope basket.
Depending on how large you want your basket to be you might need more or less rope.
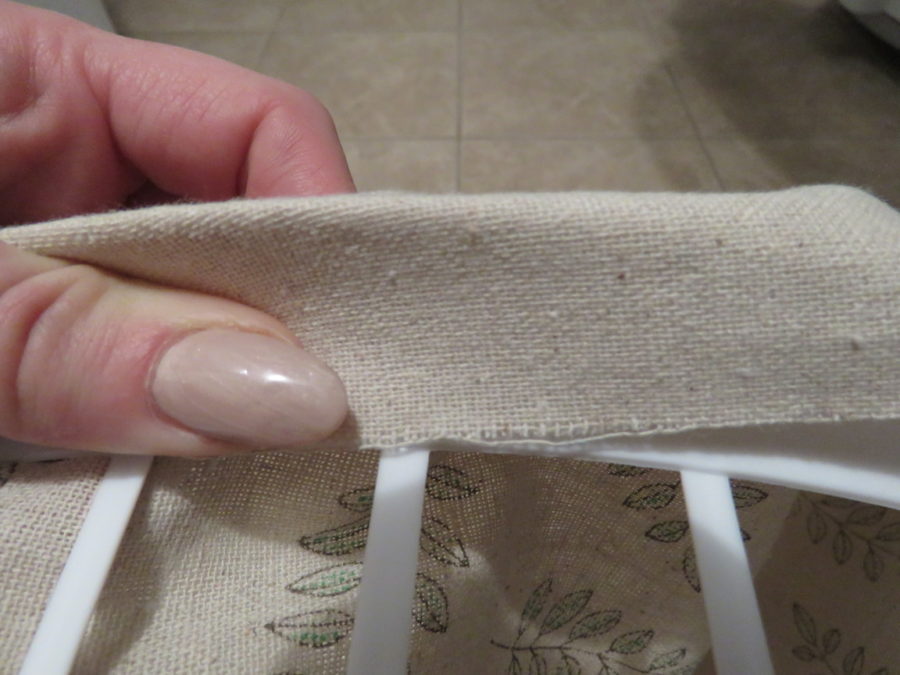
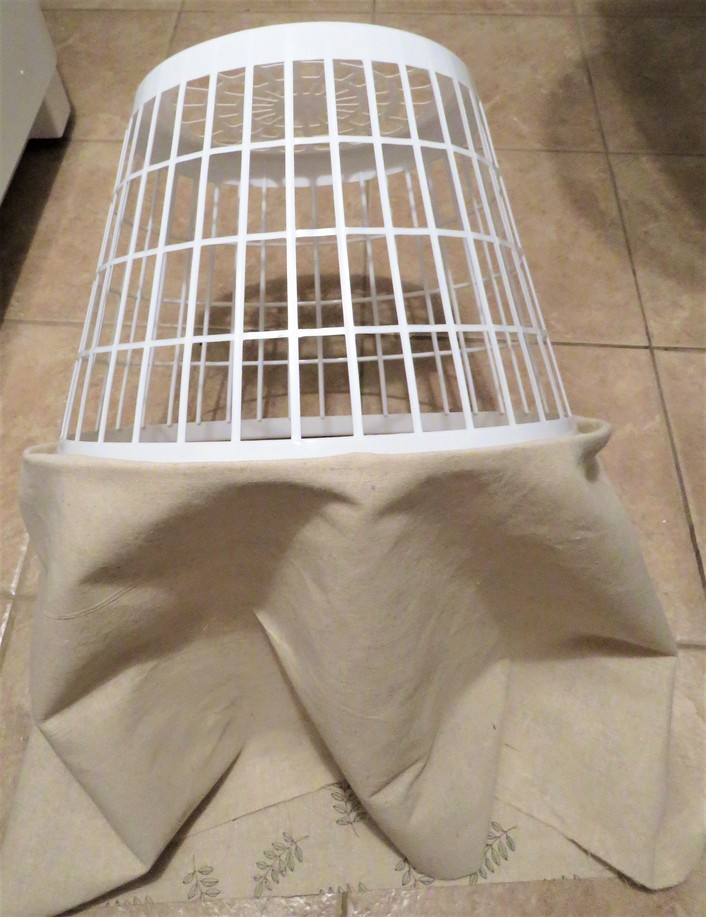
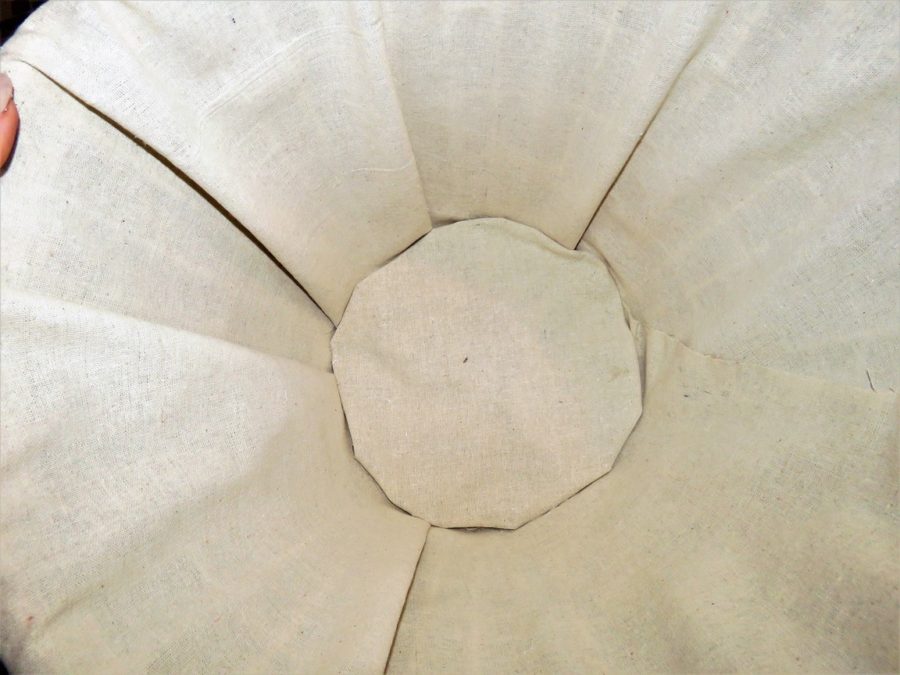
I didn’t want my plastic laundry basket to show on the inside of my rope basket so I chose to line mine. You can totally skip this part if you want and save some extra cash.
Step 1: Lining the basket
When lining the basket with the fabric make sure you have an extra inch at the bottom of the basket and a couple of inches at the top.
Take one end at the top of the basket fold the fabric over the lip of the basket and glue it in place. Glue the fabric all around the basket.
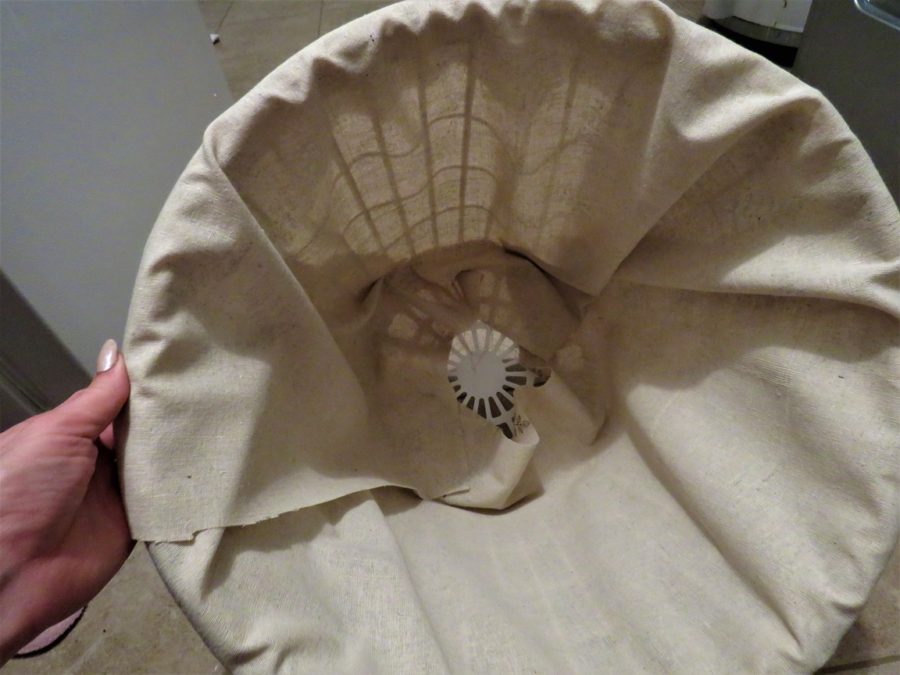
Glue the side of your liner where they meet and straighten the liner, then glue the fabric on the bottom of the basket.
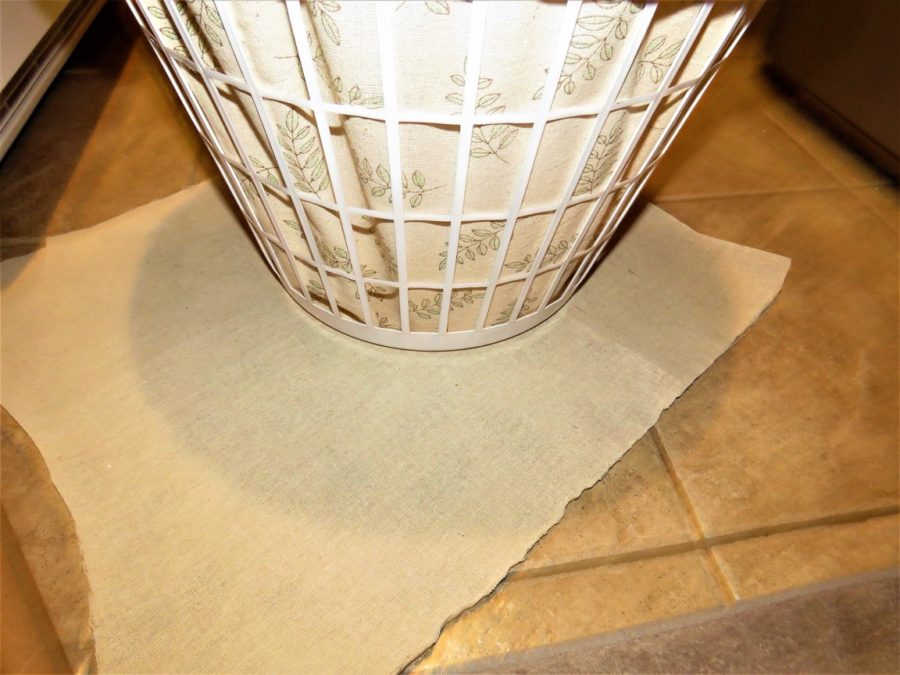
Lay your basket on top of the fabric and trace the bottom of the basket, and cut the circle leaving an extra inch of fabric.
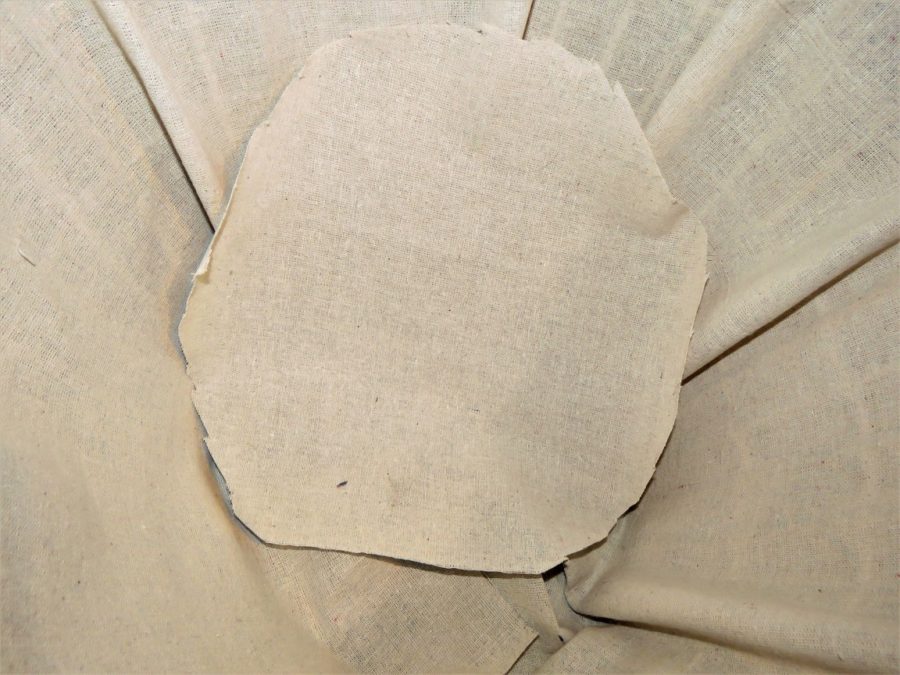
To make your basket look even better, take the circle you cut and glue it to the bottom of the basket. Fold the extra inch of fabric towards the bottom of the basket and glue it to the rest of the liner.
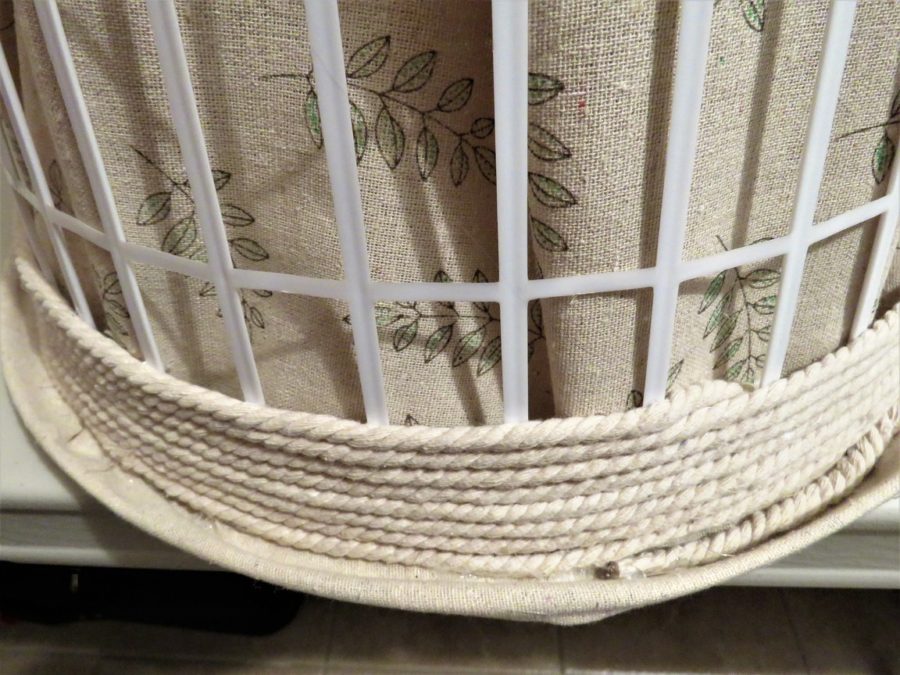
Step 2: How to make a rope basket
Flip the basket upside down and start gluing the rope under the basket lip if you are using the same kind of basket.
If your basket doesn’t have a lip, put your basket on a flat surface like a table. Then start gluing the rope where the basket seats on the surface (protect your table from getting glue on it).
Make sure you align your rope with the flat surface; you can push it down to touch the table so you have a nice straight start.
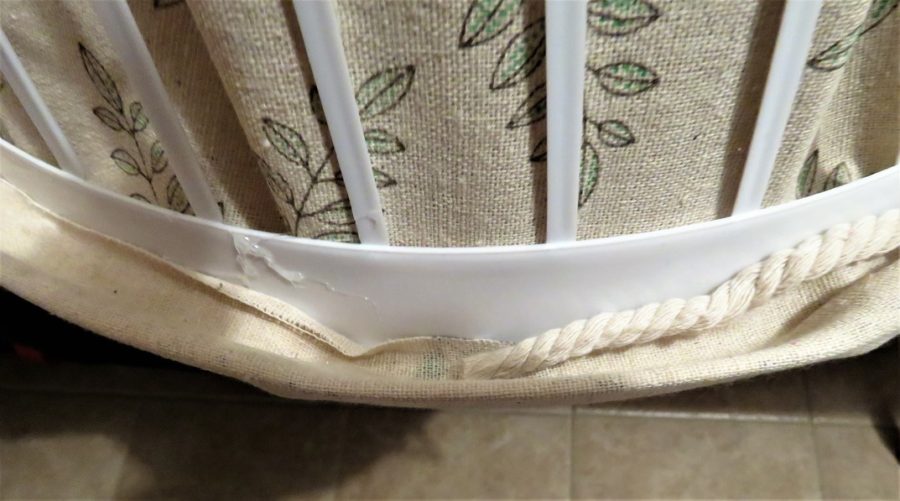
Keep going around until you have the basket completely covered in rope.
Step 3: Paint the rope basket
Because it was too plain looking and was blending in with my light furniture way too much, I decided to paint my DIY rope basket.
I wanted something that stands out a little more, and I decided to paint it.
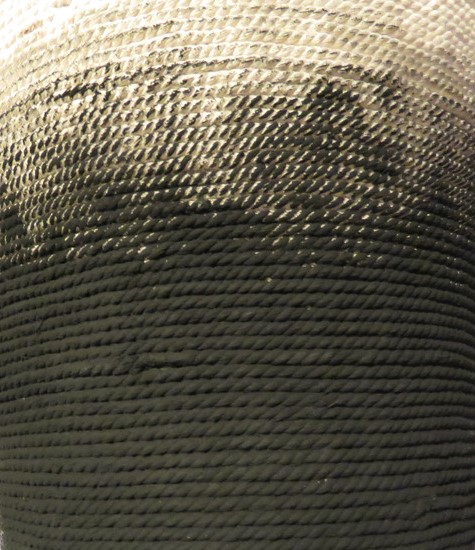
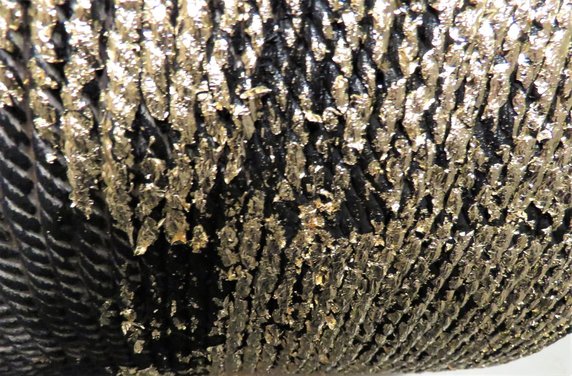
The paint I used to cover the bottom of my DIY rope basket was acrylic paint. The bottom half I painted completely black than I used the dry brush technique for the other half to give it a faded effect.
The dry brush technique is when you paint with very little paint on the brush so you don’t cover your object in paint. You can see the original color through the paint.
After the paint dried I applied tacky glue and let it dry for a while to get tacky so the foil will stick to it.
Applying the foil is a little time consuming but it’s going to turn out awesome.
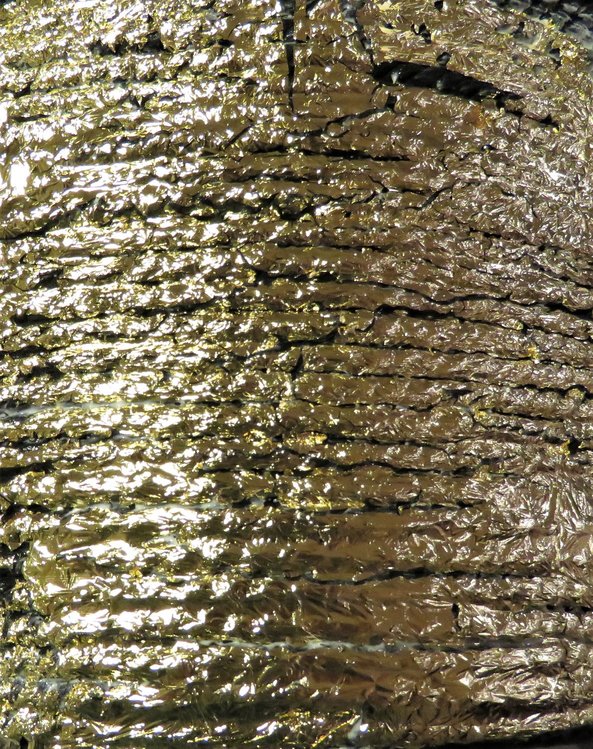
To ensure that the foil is going to stick to the rope I pressed it down with a brush and after a couple of minutes, I pressed it down with my fingers to make sure it’s secured to the rope.
I didn’t like the way it looked with the straight edge, so after I applied foil all around the rope basket I put some glue above the line where the foil ended and applied smaller pieces of foil.
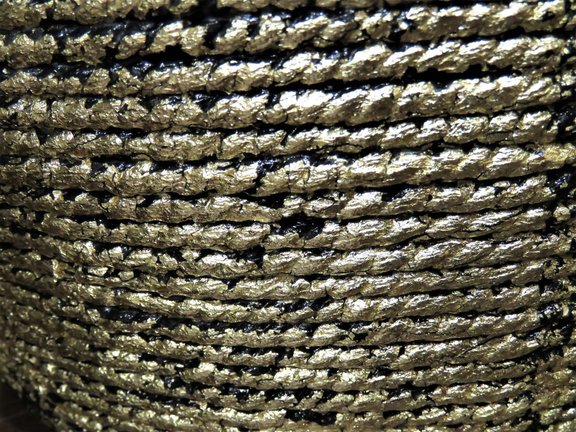
I used a pack of 10 foils to cover the bottom half of the rope basket.
Step 4: Seal the paint and gold foil
The foil was flaky and coming off more an more. I thought that the gold foil will not stay on the rope basket for too long if my kids touched the basket all the time so I decided to seal it.
I used a water-based varnish and it worked perfectly. The varnish made the foil stick to the rope even better and after it dried, it feels like a thin coat of plastic is coating the whole basket.
Usually, when you use acrylic paint on fabric, in this case, rope it feels rough to the touch after the varnish dried the whole basket had that smooth shiny feel.
I would recommend you first try the varnish on a small spot you can’t see. Some varnishes can make your paint and gold foil to look dull and take the shine away.
I used Varathane polyurethane diamond finish.
My husband bought it a few years ago and I’ve used it for furniture and paintings and it worked perfect every time.
It takes a little time to apply it. You have to apply it slowly and without passing over too many time otherwise it turns cloudy and ruins you finish.
I love the way it turned out and I didn’t have to pay lots of money for it. The most I like about it is that my kids actually like to use it, and I guess is because they don’t have to worry about folding the blankets.
Related articles:
DIY Metallic Rope Basket


2 Comments
Pingback:
Pingback: