DIY Dollar Store Abstract Painting For $10
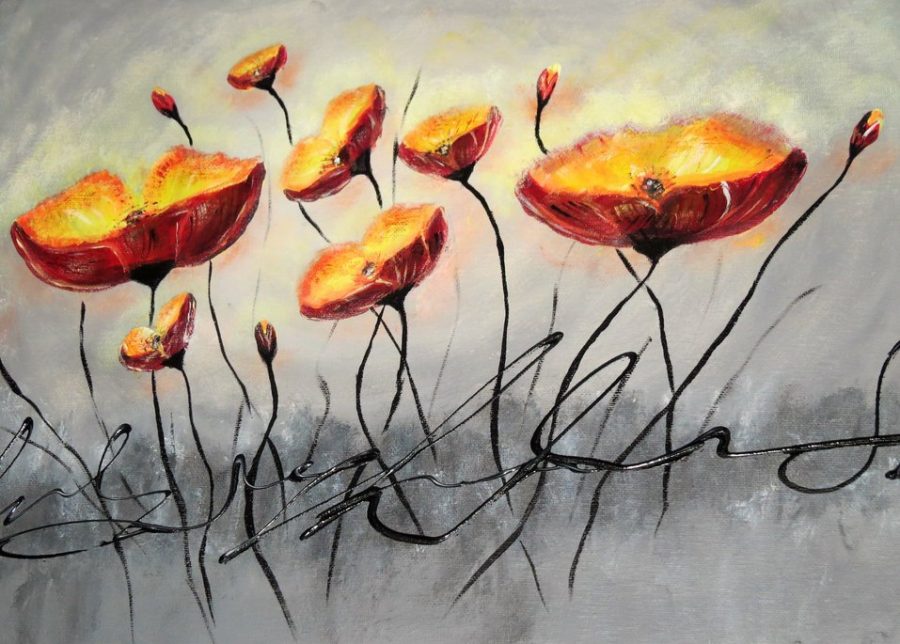
This DIY dollar store abstract painting looks like I bought it from a home decor store but I made it at a fraction of the cost. Decorating a home can get pretty expensive, even so, more when talking about wall art.
The walls in my house stood empty for a couple of years. I just couldn’t see myself paying all that money for a painting. A 16×20 painting (which is not that big) can start at $100 and go up and up. We would need lots of 16×20 to fill up our home walls.
I decided to try my hand and talent at painting and of course, I looked for the cheapest supplies. I didn’t want to end up throwing away too much money in case it was a total disaster. Regardless of the outcome I could have said that’s what I was looking for. It’s not called abstract art for nothing. LOL
I purchased all my supplies at the dollar store and I ended up paying around $10. My supplies were a 16×20 canvas, 5 colors of acrylic paint and some brushes. I used black, white, silver, red and yellow for this painting.
Just want to let you know that I made this painting a while ago and the pictures are not the greatest.
How to DIY dollar store abstract painting step by step
The first step is optional (I actually skipped it) is covering your canvas with gesso. You can make it yourself from white acrylic painting, white glue, plaster of Paris and some warm water.
If you want to make your own gesso you can find a tutorial here.
Background
After the gesso is dry you can start working on your background. Apply some white paint in the center of your canvas and some silver paint towards the edges of your canvas.
Using a brush spread the white paint first using circular motions then do the same with the silver paint. Just blend together the 2 colors where they meet.
Your background should be lighter in the center and darker towards the edges.
If you don’t like the result keep adding layers until you like the end result. I think I repeated this process twice.
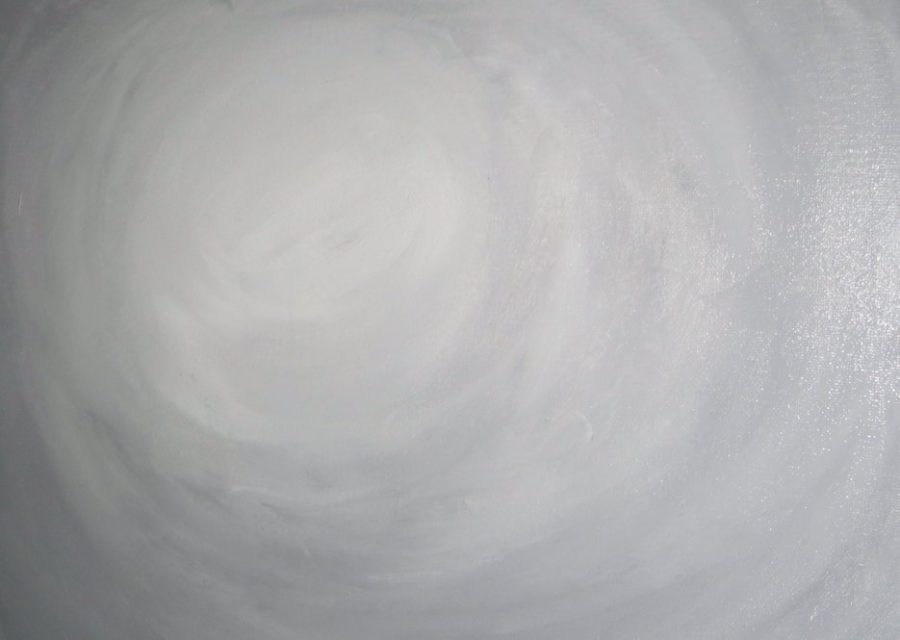
Now you have to let the canvas dry. You can let it dry a few hours or you can use your hairdryer to speed up the process.
Poppy Flowers
For the poppy flowers, I used a couple of wider brushes that I found in our garage. One was around 2 inches and the other 1 inch.
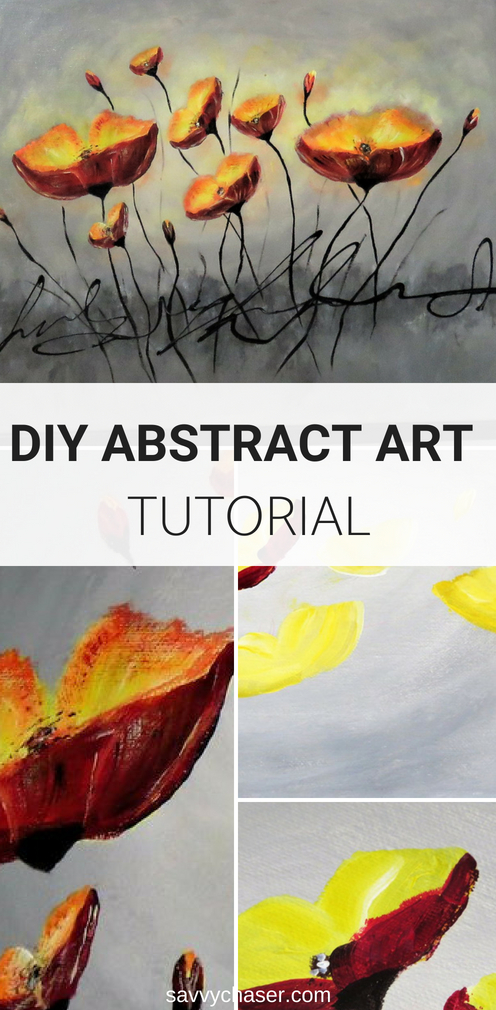
To make the yellow part of the flower I dipped one corner of the brush in white and the other in yellow paint. Holding the brush flat on the canvas I tried to make something that was resembling half of a poppy flower.
Use different sized brushes to make flowers of different dimensions.
For the buds I used a small brush dipped in both yellow and white and painted an elliptical shape.
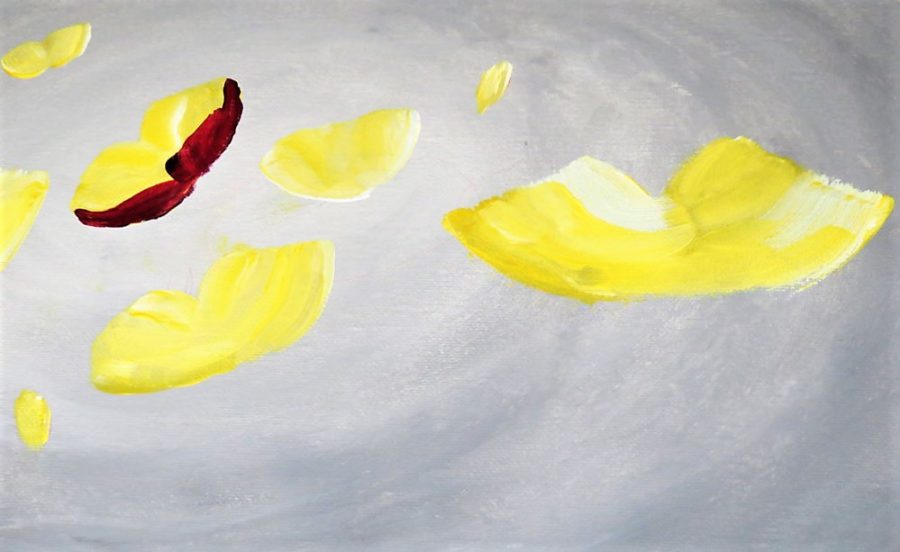
To finish the flower I used red and black and I made the other half of the flower. Use the red color as it is and make a darker shade mixing it with some black.
I used this video tutorial as an inspiration for my DIY dollar store abstract painting. The video is in German but if you look at what she’s doing you can make some decent poppy flowers.
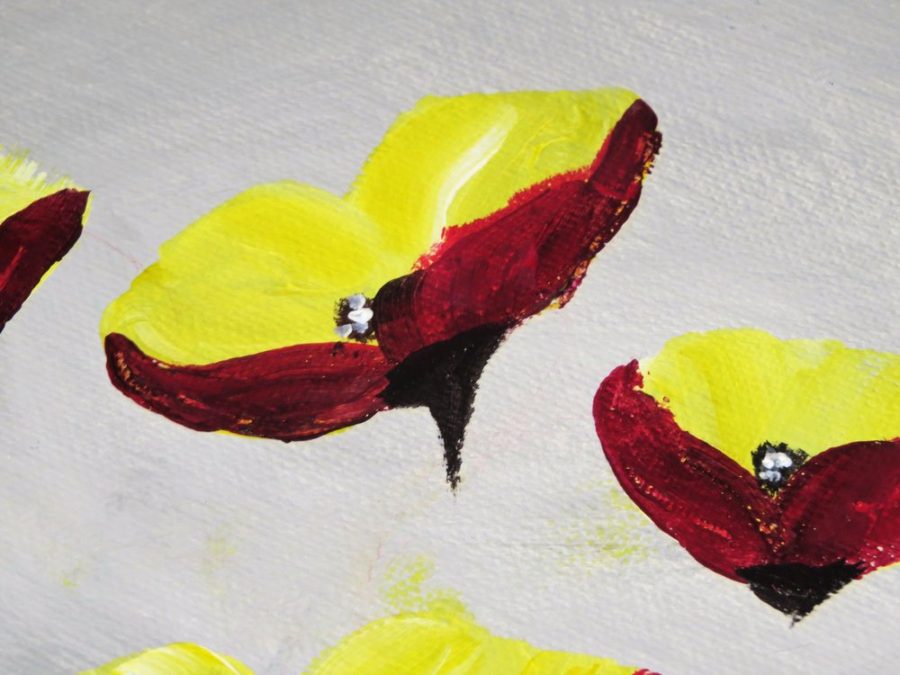
After I finished the flowers, I used a small brush to add details in the center of the flowers and on the petals.
Finishes
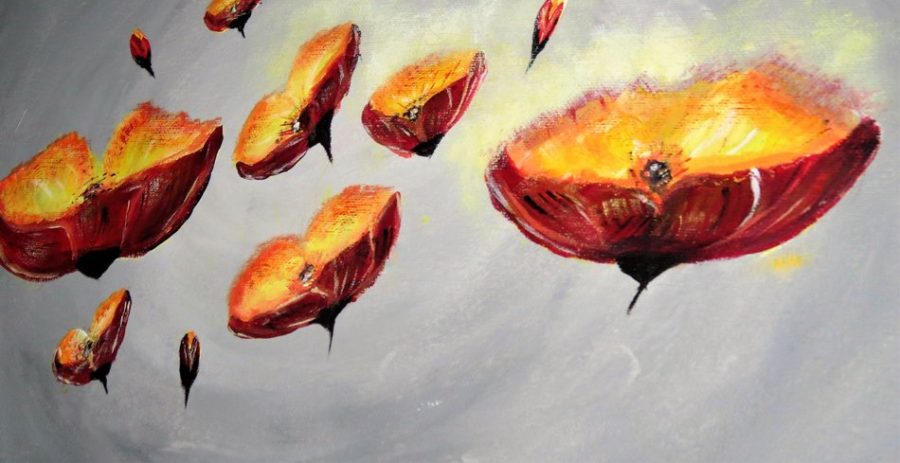
To add more depth to the painting, at the bottom of the canvas I added a darker shade of silver paint. I used black for the stems of the flowers.
Because I was pretty messy when I made the painting and had spots of yellow paint around the flowers I decided to make some yellow highlights around them.
I dipped a brush in yellow painting then whipped most of it out with a towel then lightly paint it on the canvas.

You can leave your painting like this or you can seal it. I chose to seal it because I planned to hang the painting in the bathroom so it will protect it from moisture and dust. An unsealed painting is not that easy to dust.
You can buy at craft stores varnish for acrylic paint, but I find it too expensive. I had some leftover water base varnish from a different project and I used it to seal the painting.
The varnish I had was from a hardware store and it’s cheaper than the craft store one.
Later I checked the ingredients from the craft store varnish and the one I used and they are the same. So if you plan on doing a few paintings head to home depot for the varnish.
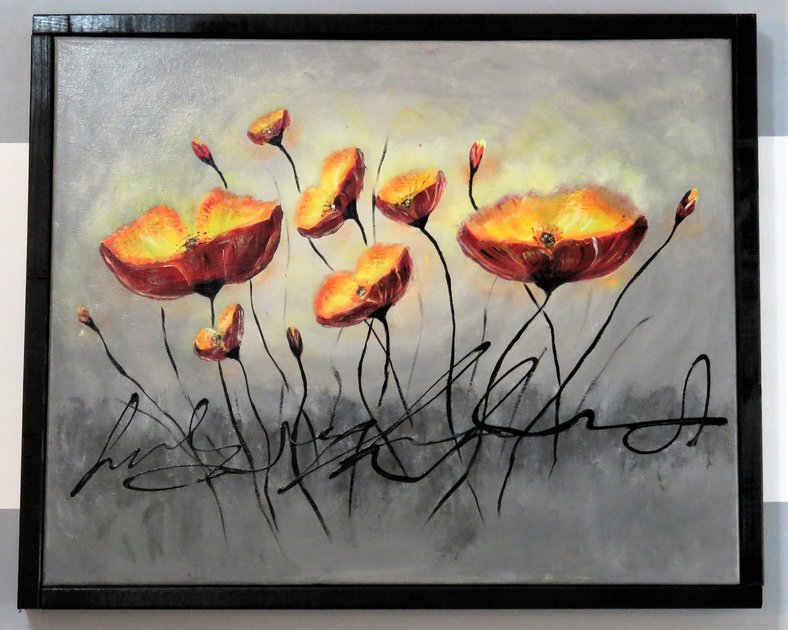
From a 1 inch strip of wood that I bought for not more than a couple of bucks at home depot, I made a frame for my DIY dollar store abstract painting.
I took this picture yesterday and the painting still looks like the first day and it has been almost 3 years since I hanged it in the bathroom.
If you try to make your own dollar store abstract painting let me know in the comments below!
Related Articles:
